If you’ve been following our experimentation, this is another installment in which I will be documenting our trials in making green pigments! If you are just coming across this project, read more about how it began and why in our Introduction post.
I’ll begin with green because both methods to make green were successful (finally!) and the pigment-making process for each is quite unique and fun. My organic method for making green pigment involved using dark, leafy greens. Be sure to watch the video embedded below to learn exactly how I extracted green pigment from Spinach, cut to 30 seconds in for actual instructions.
Beyond the accent, the video was awesome because while the steps could get a bit complicated with all the boiling and straining, it was a very unique process. Unlike the organic recipes for red, which I explain here, this method did not require any squashing of fruit which would make thin and watery pigments. Instead, from a half bag of spinach, I was able to extract about a tablespoon’s worth of a thick paste-like green pigment, which when painted left a very dark, forest green mark. The only downside of this method was I could not make the pigment any smoother. I imagine with repeated iterations of the steps shown in the video above I could make the pigment much less paste-like and no longer including remnants of blended Spinach.
 Next, there was the inorganic green pigment. When researching for a suitable inorganic recipe, I encountered some difficulty since it seemed like every recipe and material was toxic! In fact, the recipe for verdigris (which was successful) is also said to be slightly toxic. Nevertheless, given the ingredients and a detailed Yale teaching guide for Verdigris I felt quite comfortable and excited pursuing this pigment.
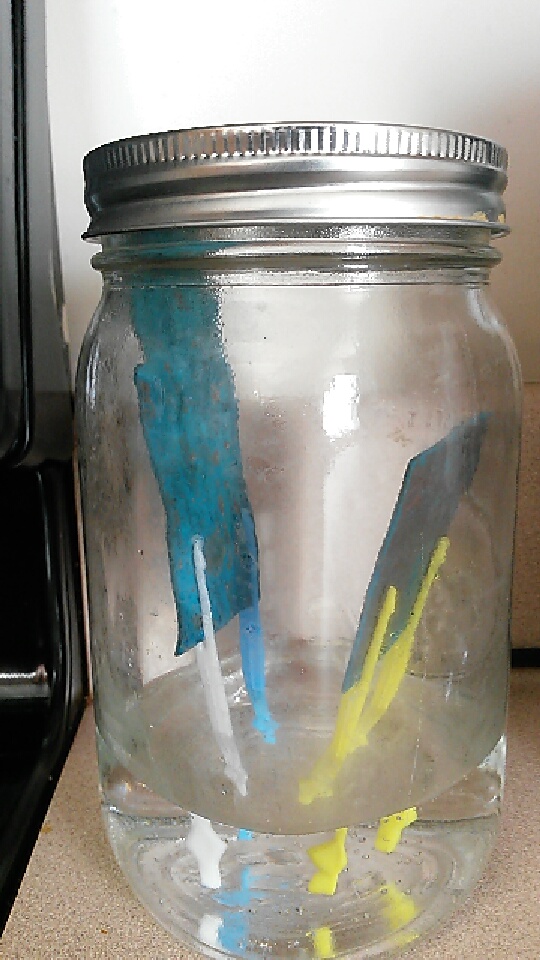
My two ingredients to make verdigris were copper and vinegar. I had some scraps of copper from a metalsmithing and jewelry class I took a few semesters ago as well as some sand paper. Who knew a random elective I took would continue to be relevant and useful in the future in a completely different context! Once I had sanded the copper to a relative shine, I suspended them in a jar with some vinegar at the bottom. Interestingly, it was absolutely important that the copper and vinegar be in the same jar, but the copper not be submerged in the vinegar. It is a mystery to me still (crazy chemistry) how vinegar fumes can create a substance that is green. But work it did! In just a few days, there was already some of the color forming on the copper.
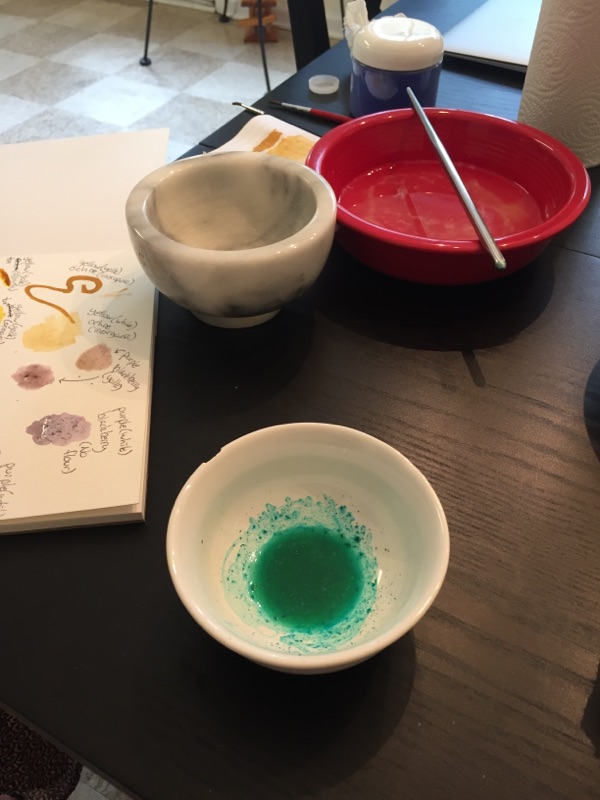 To get the verdigris which had formed on the copper off, we took a butter-knife and scraped off a good bit. Perhaps not the most efficient method, but it certainly worked. Then, we combined the verdigris with both the egg yolk and egg white (typical medieval binders). Interestingly, I thought that the verdigris looked smooth, opaque and very beautiful in both the egg white and egg yolk. Unlike some of our other experimentation that Bonnie documented here, the egg white did not produce a more liquid-y, lighter color. Because of how bright the color was, the painted verdigris simply looked greener with the egg yolk (likely because of the yellow base tones) and bluer with the egg yolk. Nevertheless, whatever I had expected from verdigris, I was hoping for a green that was really green. As beautiful as it is, I’m not sure it can be quite classified as green.