So, Gold Leaf… But Not Really
Medieval manuscripts ranged in topics, from legal documentation to religious texts, and while not always present, illuminations were often found as decorative elements added to letters, borders, and figures. Gold leaf, made of gold, or a combination of metals, was the shiniest of those decorations.
The process of making gold leaf required an intense level of heat to melt the initial metal, as well as something heavy to pound the metal into extremely thin sheets. Both were far too intense for our little college class. This is why we decided to focus on creating gesso, the glue that adheres the gold leaf to the parchment or paper page. Thankfully we were able to get our hands on pre-made gold leaf, perfect and shiny. Meanwhile, our attempts at the gesso making process proved to be a challenge and far less pretty.
Behind the Shine
Using gesso is a tricky process, and timing is important. The materials needed are parchment, water, a heat source, strainer or cheesecloth, and a dish to keep the product in when finished. A simple way to think of the delicate process of making gesso is to think about using regular, ole Elmer’s glue. One has a limited window of time to use the glue while it’s sticky before it dries up and becomes useless. Similarly, gesso must be used while warm for ultimate stickiness, and figuring out that window for application can be tricky to navigate. So you probably shouldn’t expect the process to go perfectly on the first try.
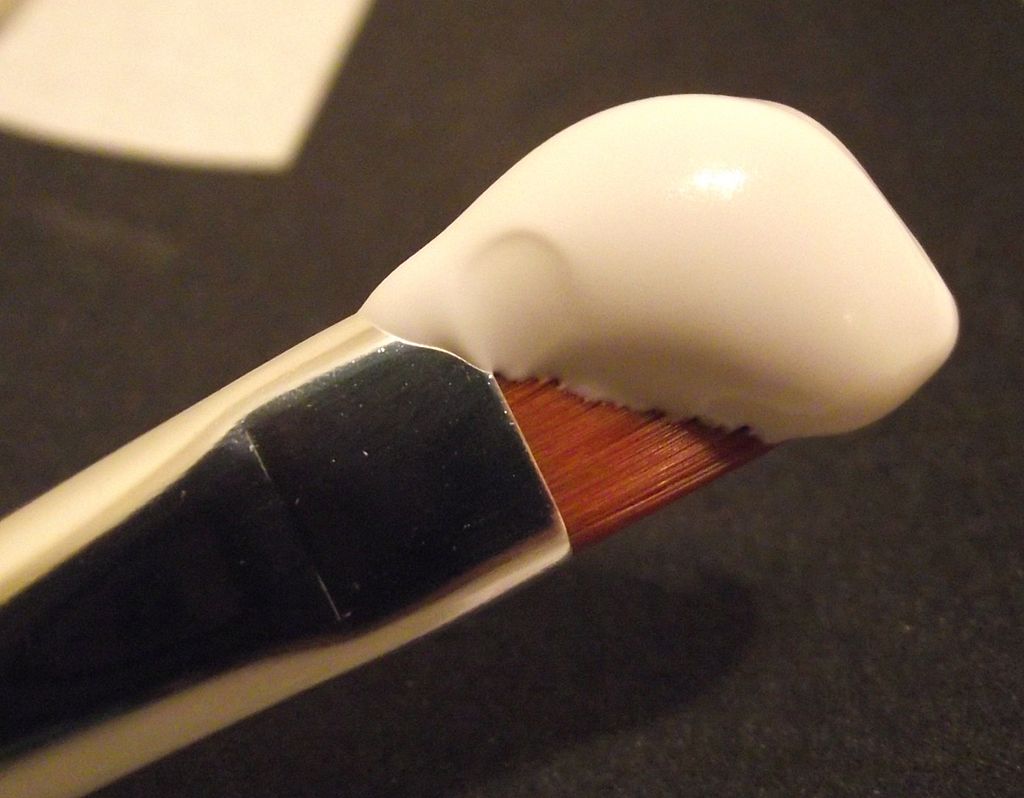
Below, you can see an example of the effects of using poorly made gesso, which can cause the gold leaf to fall off completely over time. We kept these anticipated issues in our minds while looking for recipes and attempting creation, but that hardly prepared us for the events to come.

The Recipe
Many different recipes for gesso-making exist, in modern and medieval contexts; however, our group decided to select a modern recipe found online for our recreation, since we wouldn’t have to convert medieval measurements into modern measurements ourselves. Medieval recipes vary in time and materials, so we did ourselves a favor by going with a modern recreation. The recipe we used was found here. After reading over the recipe, we made a few adjustments to the measurements to comply with our limited resources, and this was the final recipe we ended up using:
Ingredients:
- 4 oz water, ½ tablespoon of rabbit skin glue, 6 oz of gypsum/whiting dust
Equipment:
- Double boiler
- Jar for soaking rabbit glue in water
- Jar for final product of glue
- Chopstick to stir
- Strainer
Directions:
- Add the glue to the water and allow it to stand overnight or until the glue granules are completely dissolved.
- Heat the glue mixture slowly on a double boiler. Do not let the glue boil or come into contact directly with the heat source.
- Sift the whiting into the warm glue mixture. Stir very carefully so as not to introduce air bubbles into the mixture then let the mixture stand for up to an hour.
- Strain the mixture through a strainer.
The Process
As mentioned previously, it’s difficult to achieve the desired result of perfect gesso on the first try, and that was very, very true in our case. The process itself was easy enough, in terms of using the ingredients and equipment together, but the end result was less than what we expected to achieve while following the recipe. Everything started out well, since the first step was to soak the rabbit skin glue in water overnight–quick and easy. The trouble came afterwards when we added heat and gypsum to the mix. The gypsum was measured in a small plastic cup, but the recipe called for more gypsum than we actually had access to from Dr. Camp’s generous resources. We believe this ended up being the main culprit in our failed attempt.

Measuring gypsum.
Once the water was steaming, we added the rabbit skin glue solution. We gently stirred the mixture with a chopstick to break up the gooey bits (which mostly liquified on their own when exposed to heat), then we put the measured out gypsum in a small strainer and slowly sifted it into the heated rabbit glue. This released a foul odor. Think herbal and meaty. Truly disgusting.

Stirring and Sifting Gypsum
The resulting mixture began to look like miso soup, and this, coupled with the smell, was our first sign something wasn’t going according to plan. It did not seem to be immediately thickening, as stated it would by the recipe, so we used the whisk to mix it a bit more before taking it off of the heat to let it cool. The solution looked homogenous, though it still appeared very watery with a color we described as green tea-like.

Solution sitting off heat.
While sitting, the solution continued to emit its pine tea, raw chicken odor (a description brought to you by one of our group members). Fifteen to twenty minutes after taking the glue off heat, it still didn’t look any more viscous, so we added a bit more gypsum (1-2 oz, eyeballed). Almost immediately, it took on a whiter coloration as opposed to its previous brownish state. We stirred in the added gypsum with a chopstick until the mixture appeared mostly homogenous again; however, the mixture never reached the glue-like consistency we were hoping for. Instead it became, as we like to call it, a rabbit skin jelly. Disgusting picture below.

Failed ‘Rabbit Skin Jelly’ Solution
(Unshiny) Reflection
Ultimately, we had to take this experience as a humbling, learning one. Our recipe was a total failure, and we put it down to not having enough gypsum to reach the consistency our recipe called for. We think our converted measurements were off base by a good amount, which could definitely explain our issues. We should have been more skeptical of our recipe to begin with, since it seemed way too easy to make something as substantial as medieval-style gesso. Also, the scale was a little wonky day-of, so that could have had something to do with our measurements being off. A few members of our group suggested possibly applying a thin layer of the solution immediately, while still warm, to adhere the gold leaf before the gesso congeals/hardens, which we would take into consideration on a next attempt. Overall, we learned and had a good laugh, though we would rather erase our horrible rabbit jello creation from our memories.
Works Cited and Consulted
Benvenuti, S. “Gold Leaf Production – How Is It Made?: Manetti Goldbeater.” Giusto Manetti Battiloro, 23 Mar. 2022, https://www.manetti.com/en/gold-leaf-production/#gref.
“Medieval Illumination Recipes.” Medieval Illumination Recipes, https://www.jcsparks.com/painted/recipes.html#Gesso.
Medlej, Joumana. Inks & Paints of the Middle East: A Handbook of Abbasid Art Technology. Majnouna, 2021.
“Preparation of Animal Hide Glue.” How to Mix Animal Hide Glue for Gesso Making and Gilding, https://www.gildedplanet.com/hideglueprep.html.
“Psalter.” Psalter – Bible Liturgy Reformation German Medieval Manuscript : Medieval Text Manuscripts, https://www.textmanuscripts.com/medieval/medieval-german-psalter-79751.
Zwingle, Erla. “The History of Gold Leaf.” The Craftsmanship Initiative, 28 Apr. 2021, https://craftsmanship.net/sidebar/the-history-of-gold-leaf/
Featured Image Citation : CC BY-SA 4.0, <https://ca.wikipedia.org/wiki/Gesso#/media/Fitxer:Gesso_acrylic_brush.jpg