
To add a new post to your CTL site, simply follow the steps below.
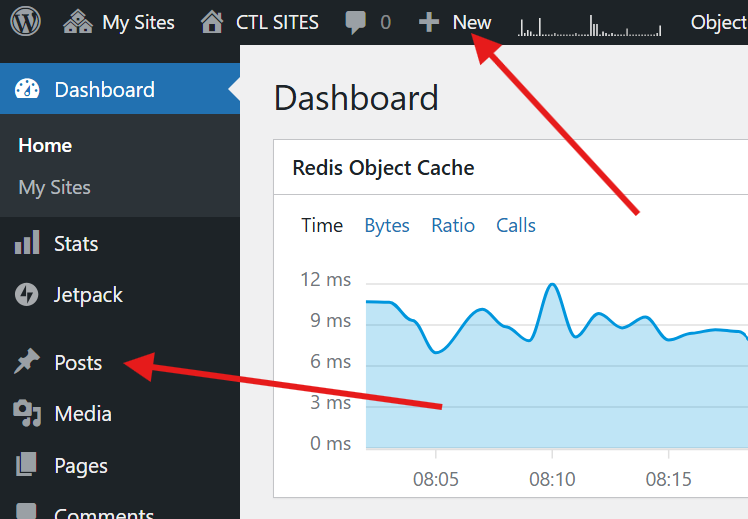
Navigate to the Posts Menu
Hover over Posts on the left navigation menu or click +New on the admin bar at the top of the screen.
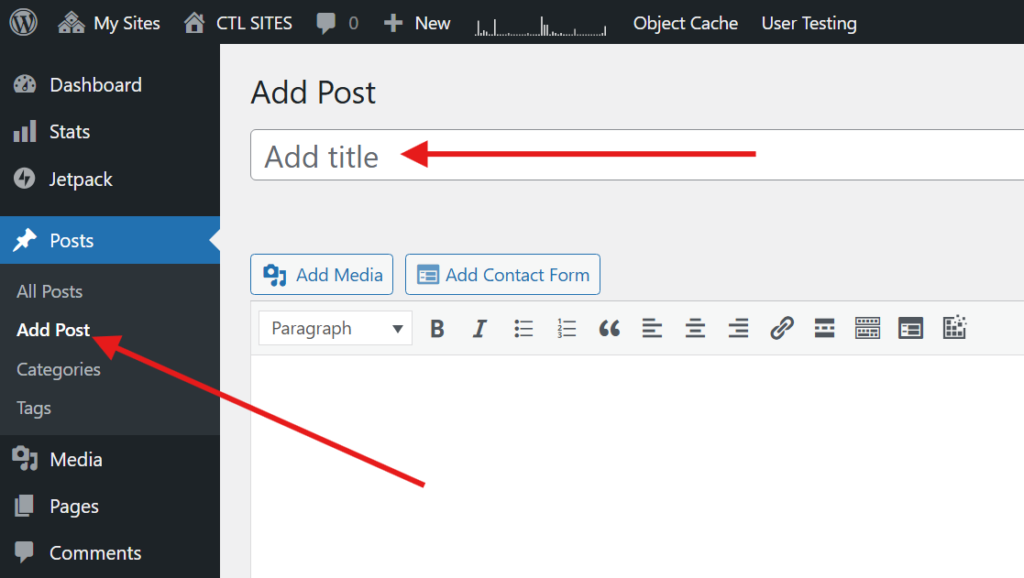
Add a Title and Content
Click Add Post. The Add Post page will appear. Enter a title for your post, and type your information into the main content area.
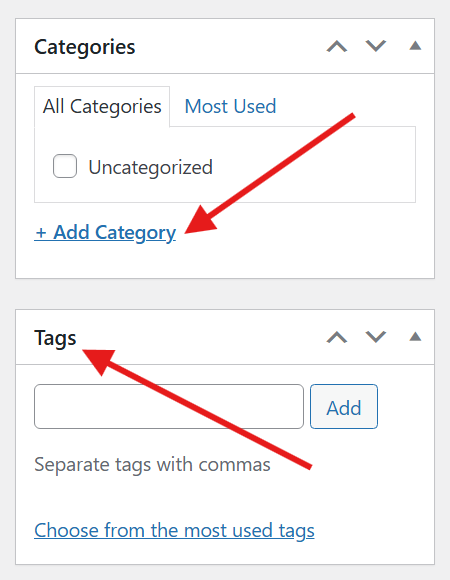
Select a Category and add Tags (Optional)
The Categories and Tags menu are on the right side of your dashboard.
Select a Category for your post, if applicable. You can also create a new category by clicking the “Add Category” link. Categories are a way to organize and search your posts. For example, you could have a category for different topics in your course.
Add Tags to your posts by typing the tag you want to add in the tag box and clicking Add. Tags allow you to organize your posts more specifically within a category.
Publish Your Post
To make your post live, click the blue Publish button on the top right side of the dashboard.
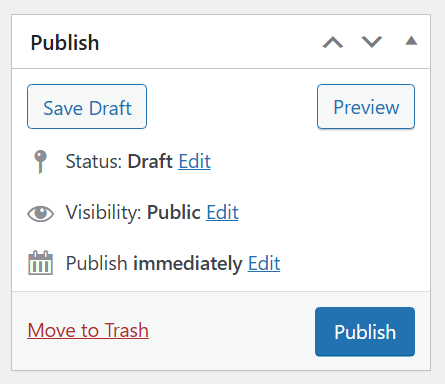
You also have several other useful options in the Publish area:
- Save a draft, or preview your post
- Change the post status to Draft, or Pending Review
- Change the post visibility to Public, Password Protected, or Private
- Publish immediately, or set a future date to publish the post automatically