
After you login, you will see three major areas to your site: the Dashboard, the Left Navigation Menu, and the Admin Bar at the top.
Dashboard
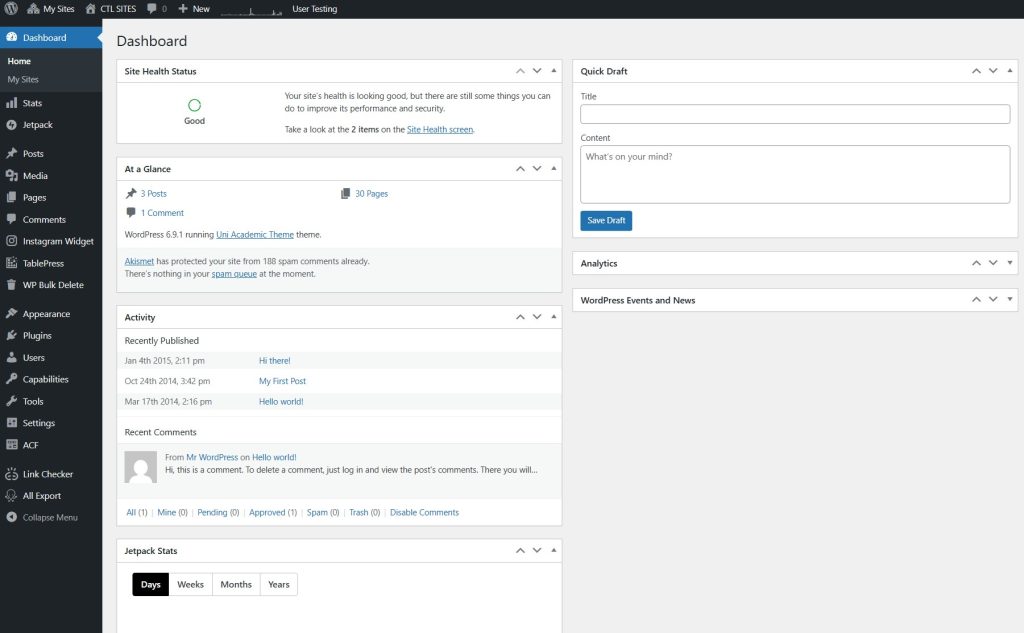
This is the first screen you see when you log in. The layout can be changed based on your preferences by using the “Screen Options” at the top right of your Dashboard screen.

Left Navigation
The main navigation is located on the left side of your screen and will be available regardless of where you are in the site.
- View Submenus: Hover your mouse over any menu item to display the additional options hidden beneath it.
- Go Home: You can return to your main control panel at any time by clicking Dashboard at the top of the list.
- Save Space: If you need more room to write, you can shrink the menu to the side of the screen by clicking Collapse Menu at the very bottom.
Admin Bar
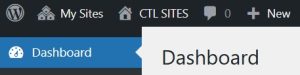
The admin bar at the top of the screen allows you to navigate to different areas inside your site(s) and profile information. It will be available regardless of where you are in the site.
From left to right, you have the following options:
🏠 My Sites
When you hover over the My Sites link, you will see the list of sites that you own. Click My Sites to view the My Sites page.
🖥️ The name of the site you’re currently editing
From editing mode, click the name of the site to preview it. From preview mode, click the name of the site again to go directly to the site’s Dashboard page.
💬 Comment bubble
The comment bubble will indicate all new comments for the site you’re currently editing. Click the comment bubble to go directly to the Comments page.
➕ New
Hover over the + New button to see its submenu. The submenu allows you to quickly add posts, media, links, pages, or users to the site.