Our project (recreating medieval pigments) is officially at a close! In this post, we will be reflecting back on what we took away from this process. We’ll walk you through the research portion of the project, then our reflections on our individual research, and finally takeaways from the “teaching day” we recently held in which we guided our own class and Dr. Camp’s FYOS class in trying out our recipes.

First of all, during the initial research phase, we learned a great deal not only about the tools and methods used in the medieval period, but also paint and painting in general. Having taken some art history classes in the past, words like “egg tempera” were not new to us, but we did not know the exact process of how a pigment and a binder (like egg yolk or egg white) came together, and why it was so important to get it right so that the consistency of the paint would serve the needs of the painter (or illuminator!) properly. In practice, our own results were rather mixed in terms of consistency, but we did improve on some of them when we made paint the second time (during the teaching day).
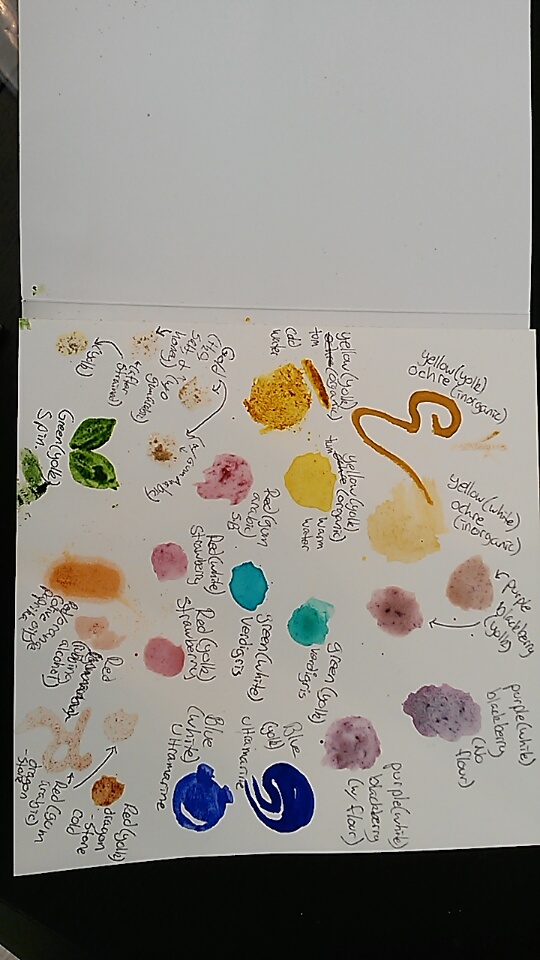
When we moved from researching colors to actually trying to reproduce them, we found that like with almost everything in life, things pretty much never go to plan! Some colors were pretty straightforward and predictable, like ultramarine, yellow ochre, and purple, though purple did turn out maybe a bit thinner than we had first thought, but we were more-or-less expecting that result once we saw that the blackberry juice itself was more like a watercolor.
Other colors, though, just did not go to plan – see shell gold and red in our previous posts! Additionally, for the organic pigments like turmeric which were not ground as finely as the inorganic ones, we had to use hot water to help dissolve them in the binders…a good tip to remember going forward! In retrospect it seems logical to use hot water, it just did not come up in the research for turmeric for whatever reason. (To be fair, a lot of information about turmeric is geared toward using it to color food in cooking, so hot water is already usually part of the equation there!)
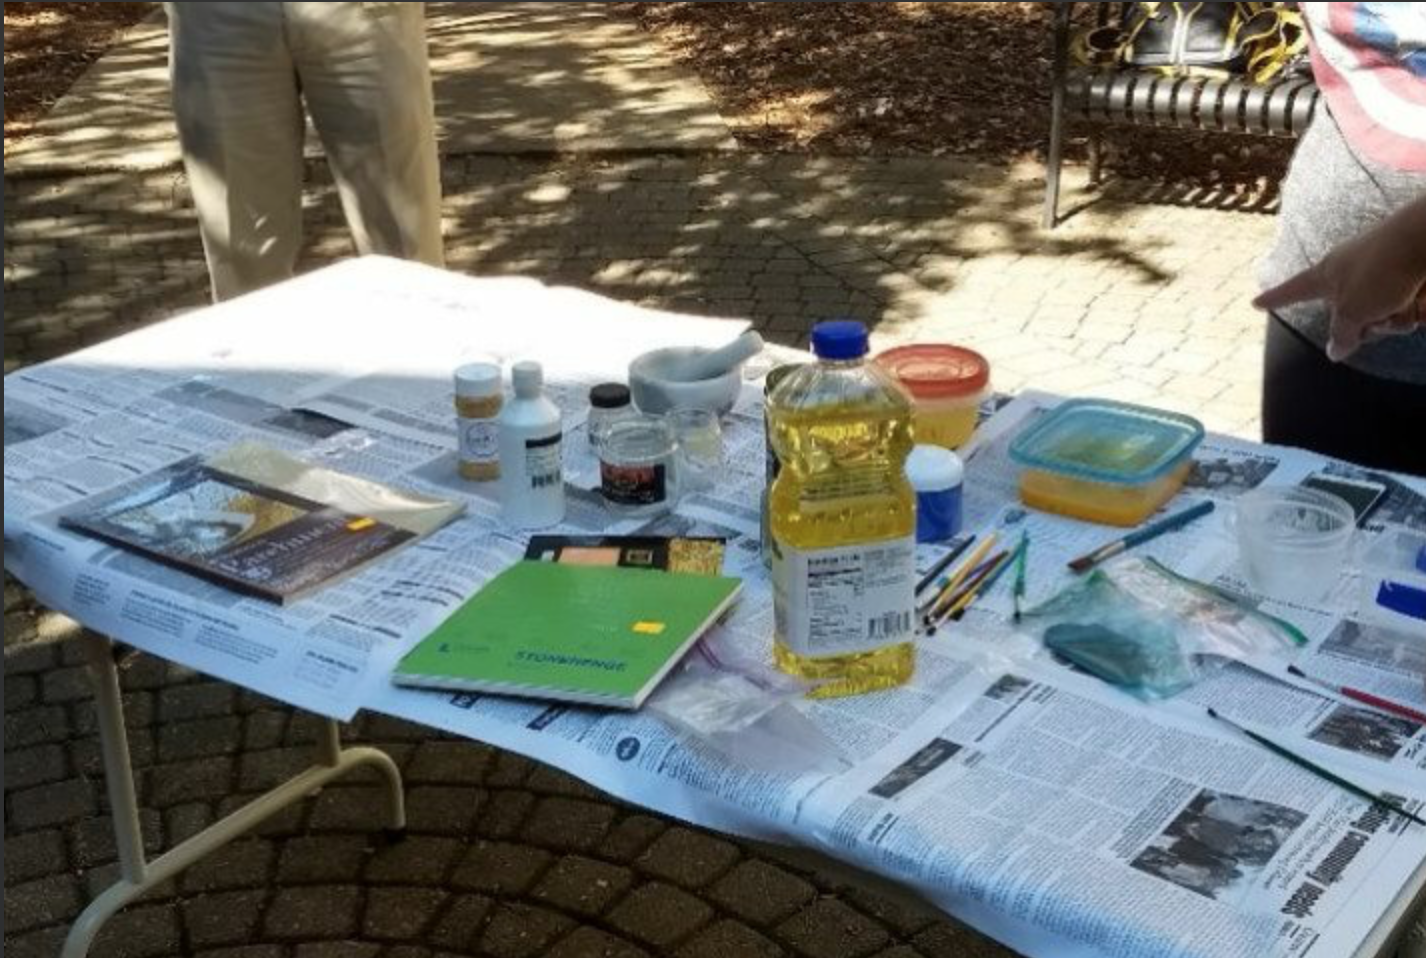
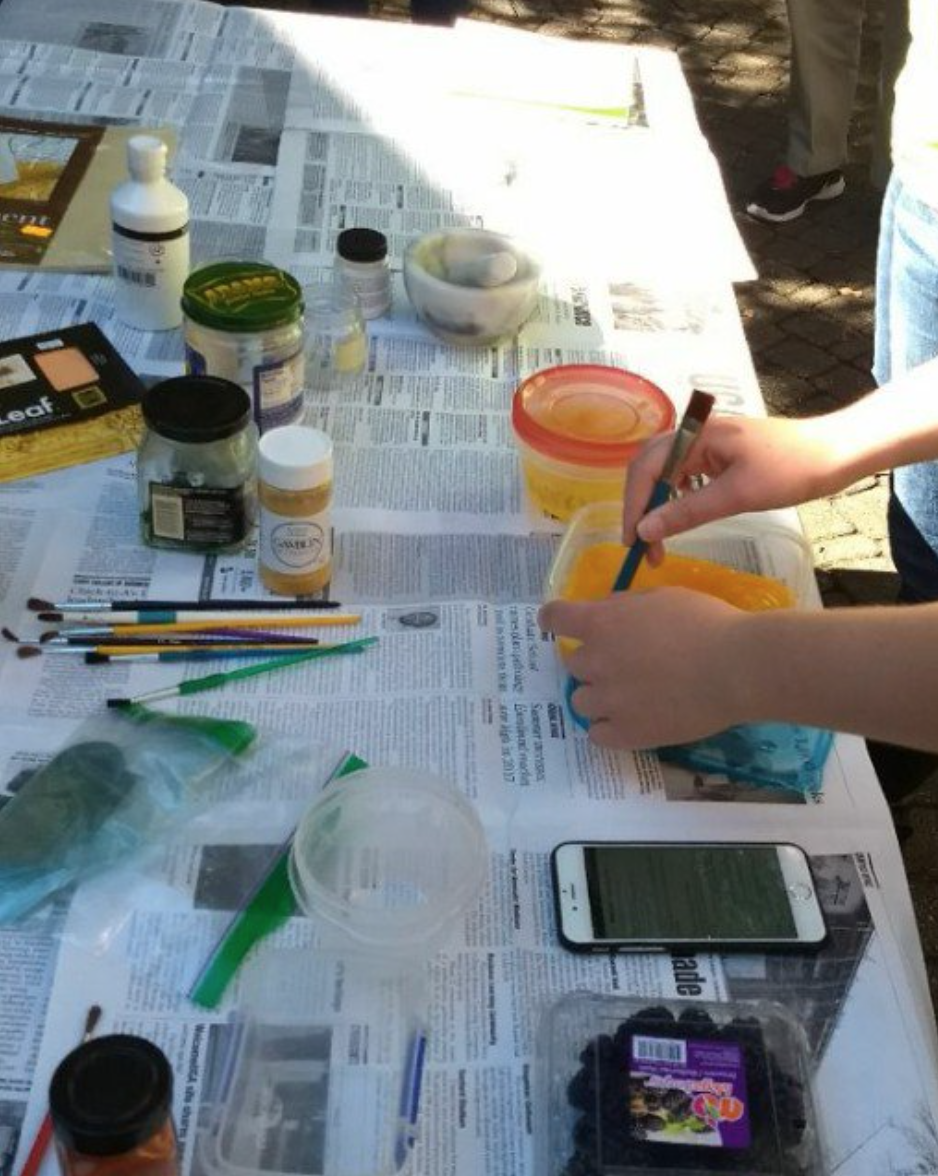
Photo credit: Dr. Cynthia Camp
Finally, our teaching day! We set up a table with our supplies outside the English Department building and had both our class and the FYOS class (which immediately follows) try out the colors that we made – choosing to make for this day only the the colors which we had success with in our own experiments. We also decided to put the leftover sheets of gold leaf to good use by providing gesso for the students to use to attach the leaf, a method that was actually used in the medieval era as well (albeit in a more refined manner).
Trying the same techniques again – with modifications to ratios and whatnot as we thought were advisable – taught us a great deal because where we expected similar results we actually found some significant differences! Verdigris in particular gave a very different shade of green. When we first produced the verdigris by scraping off the color from the copper, we were surprised by the turquoise or green-blue color it had (as Roma has mentioned previously). But during class time, we scraped some verdigris and combined it with egg yolk again, only to produce a much more green shade, as you can see below. We theorize that maybe the length that the copper interacts with the vinegar and the exact solution of the vinegar may affect the color.
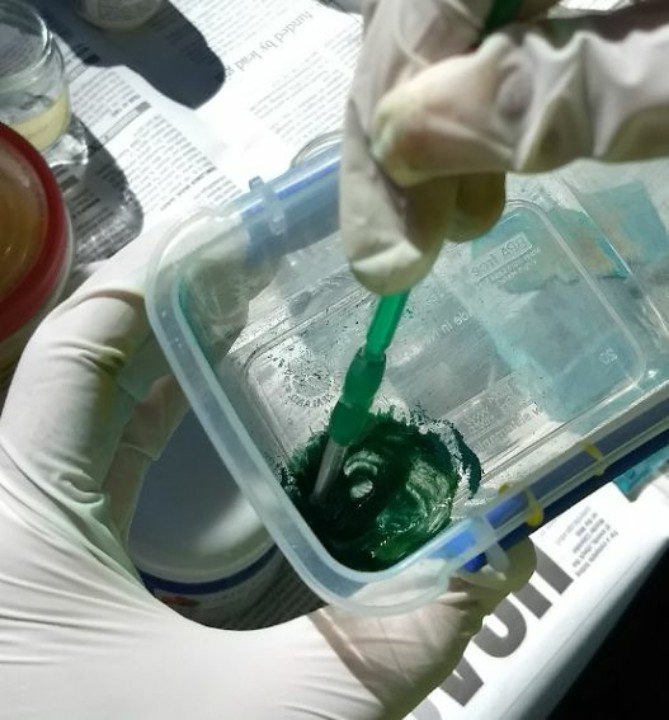 left: verdigris, the second time around
In a similar turn of events, for whatever reason we could not get paprika to form an acceptable consistency for painting, whereas we did the first time. We also noticed that the pleasant fall-orange color we had originally extracted from it had faded to almost nothing on our sample sheet – in only three weeks! We concluded from that, therefore, that paprika (or at least our version of it) was not at all suitable as a colorant.
Overall we would have benefitted from one more private experiment day before teaching the class, just so we could see what differences emerged before being in a public forum, but the teaching did still go very well as a whole!
Aside from the nuts and bolts of making these colors, though, the biggest takeaways from the teaching day were that for one thing, it takes a lot of practice and expertise to be able to make these pigments the right way consistently! Also, given that most methods of production in the medieval period involved hours or days of work (just check out some of these recipes!), it must have been very difficult to do properly. It give us great respect for the innovation in alchemy/early chemistry that went on at the time!
Another part of the teaching that caught us off guard was when the students asked questions we didn’t know how to answer. As students who love to ask questions and do so frequently, it shouldn’t surprise us that oftentimes the answer is not simple or one you’ll instantly know the answer to. During that teaching day, we felt as though after all of our research and experimentation, there were still questions and ways of looking at the pigments that we had not considered. It was a learning experience for us in turn, we think, to try to figure out how to answer unexpected questions. Often times, for questions we couldn’t answer, we found it best to just admit we didn’t know and thank the person for bringing up an angle we hadn’t considered.
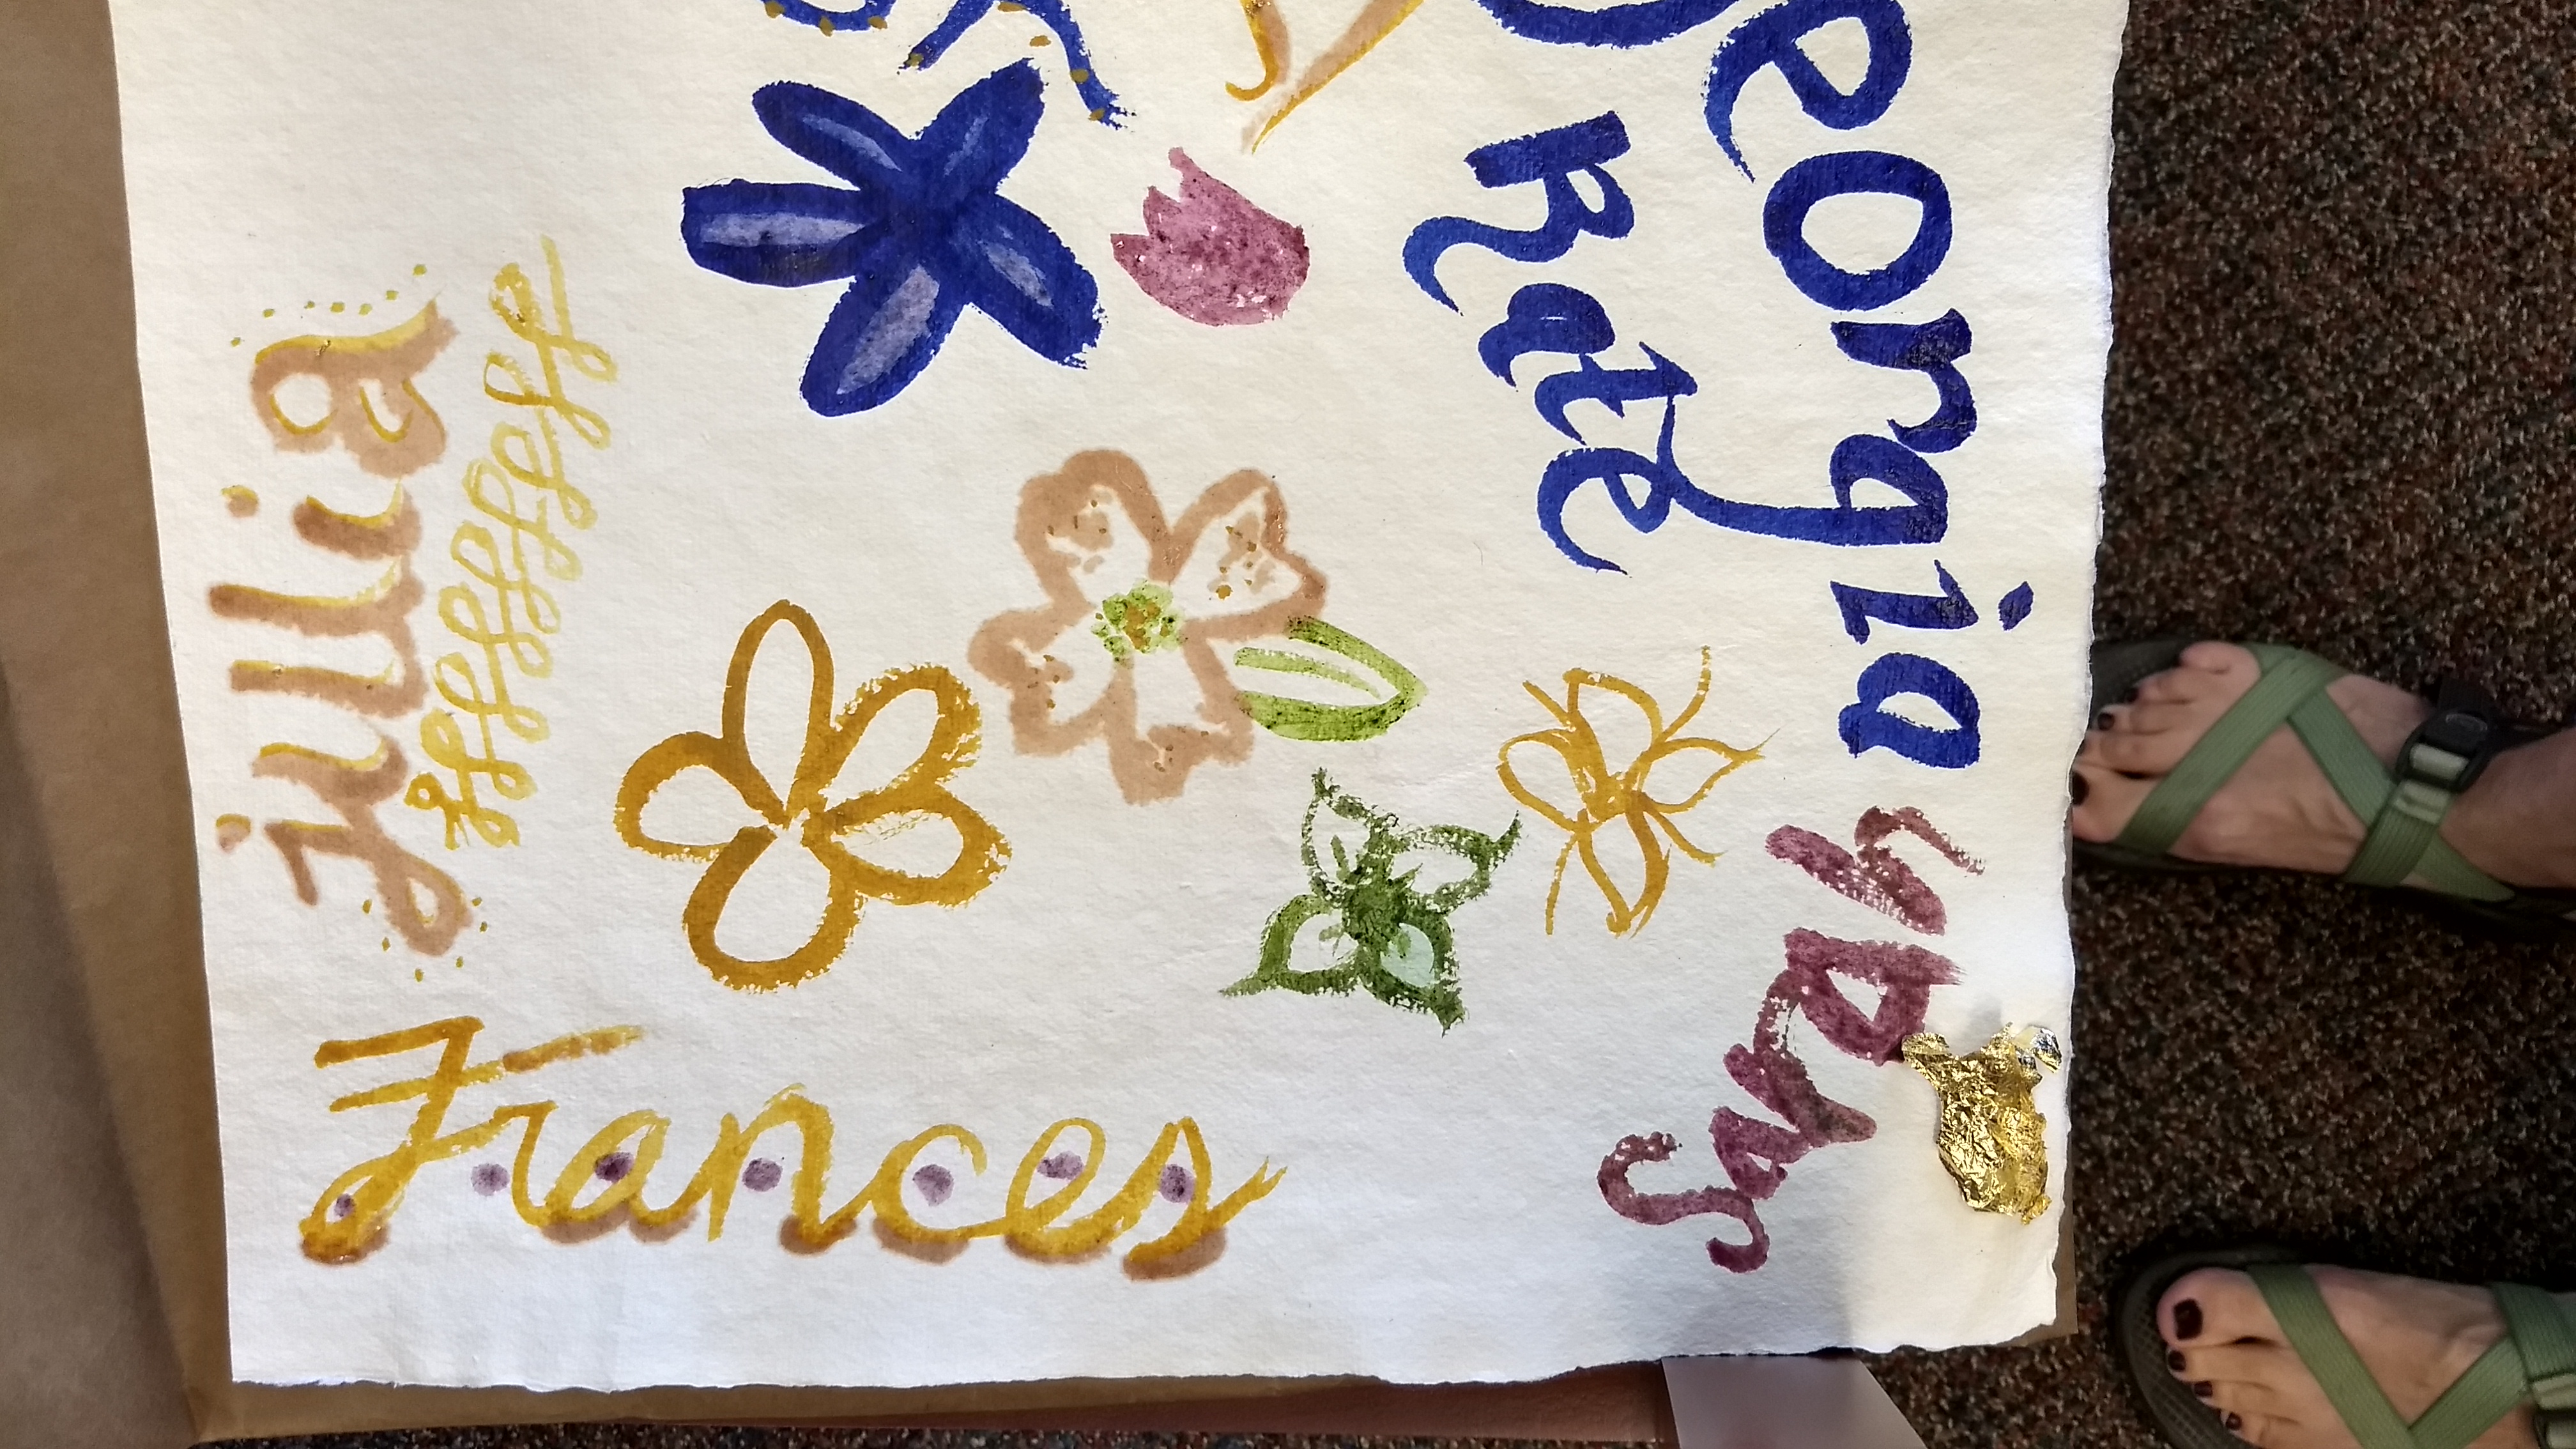
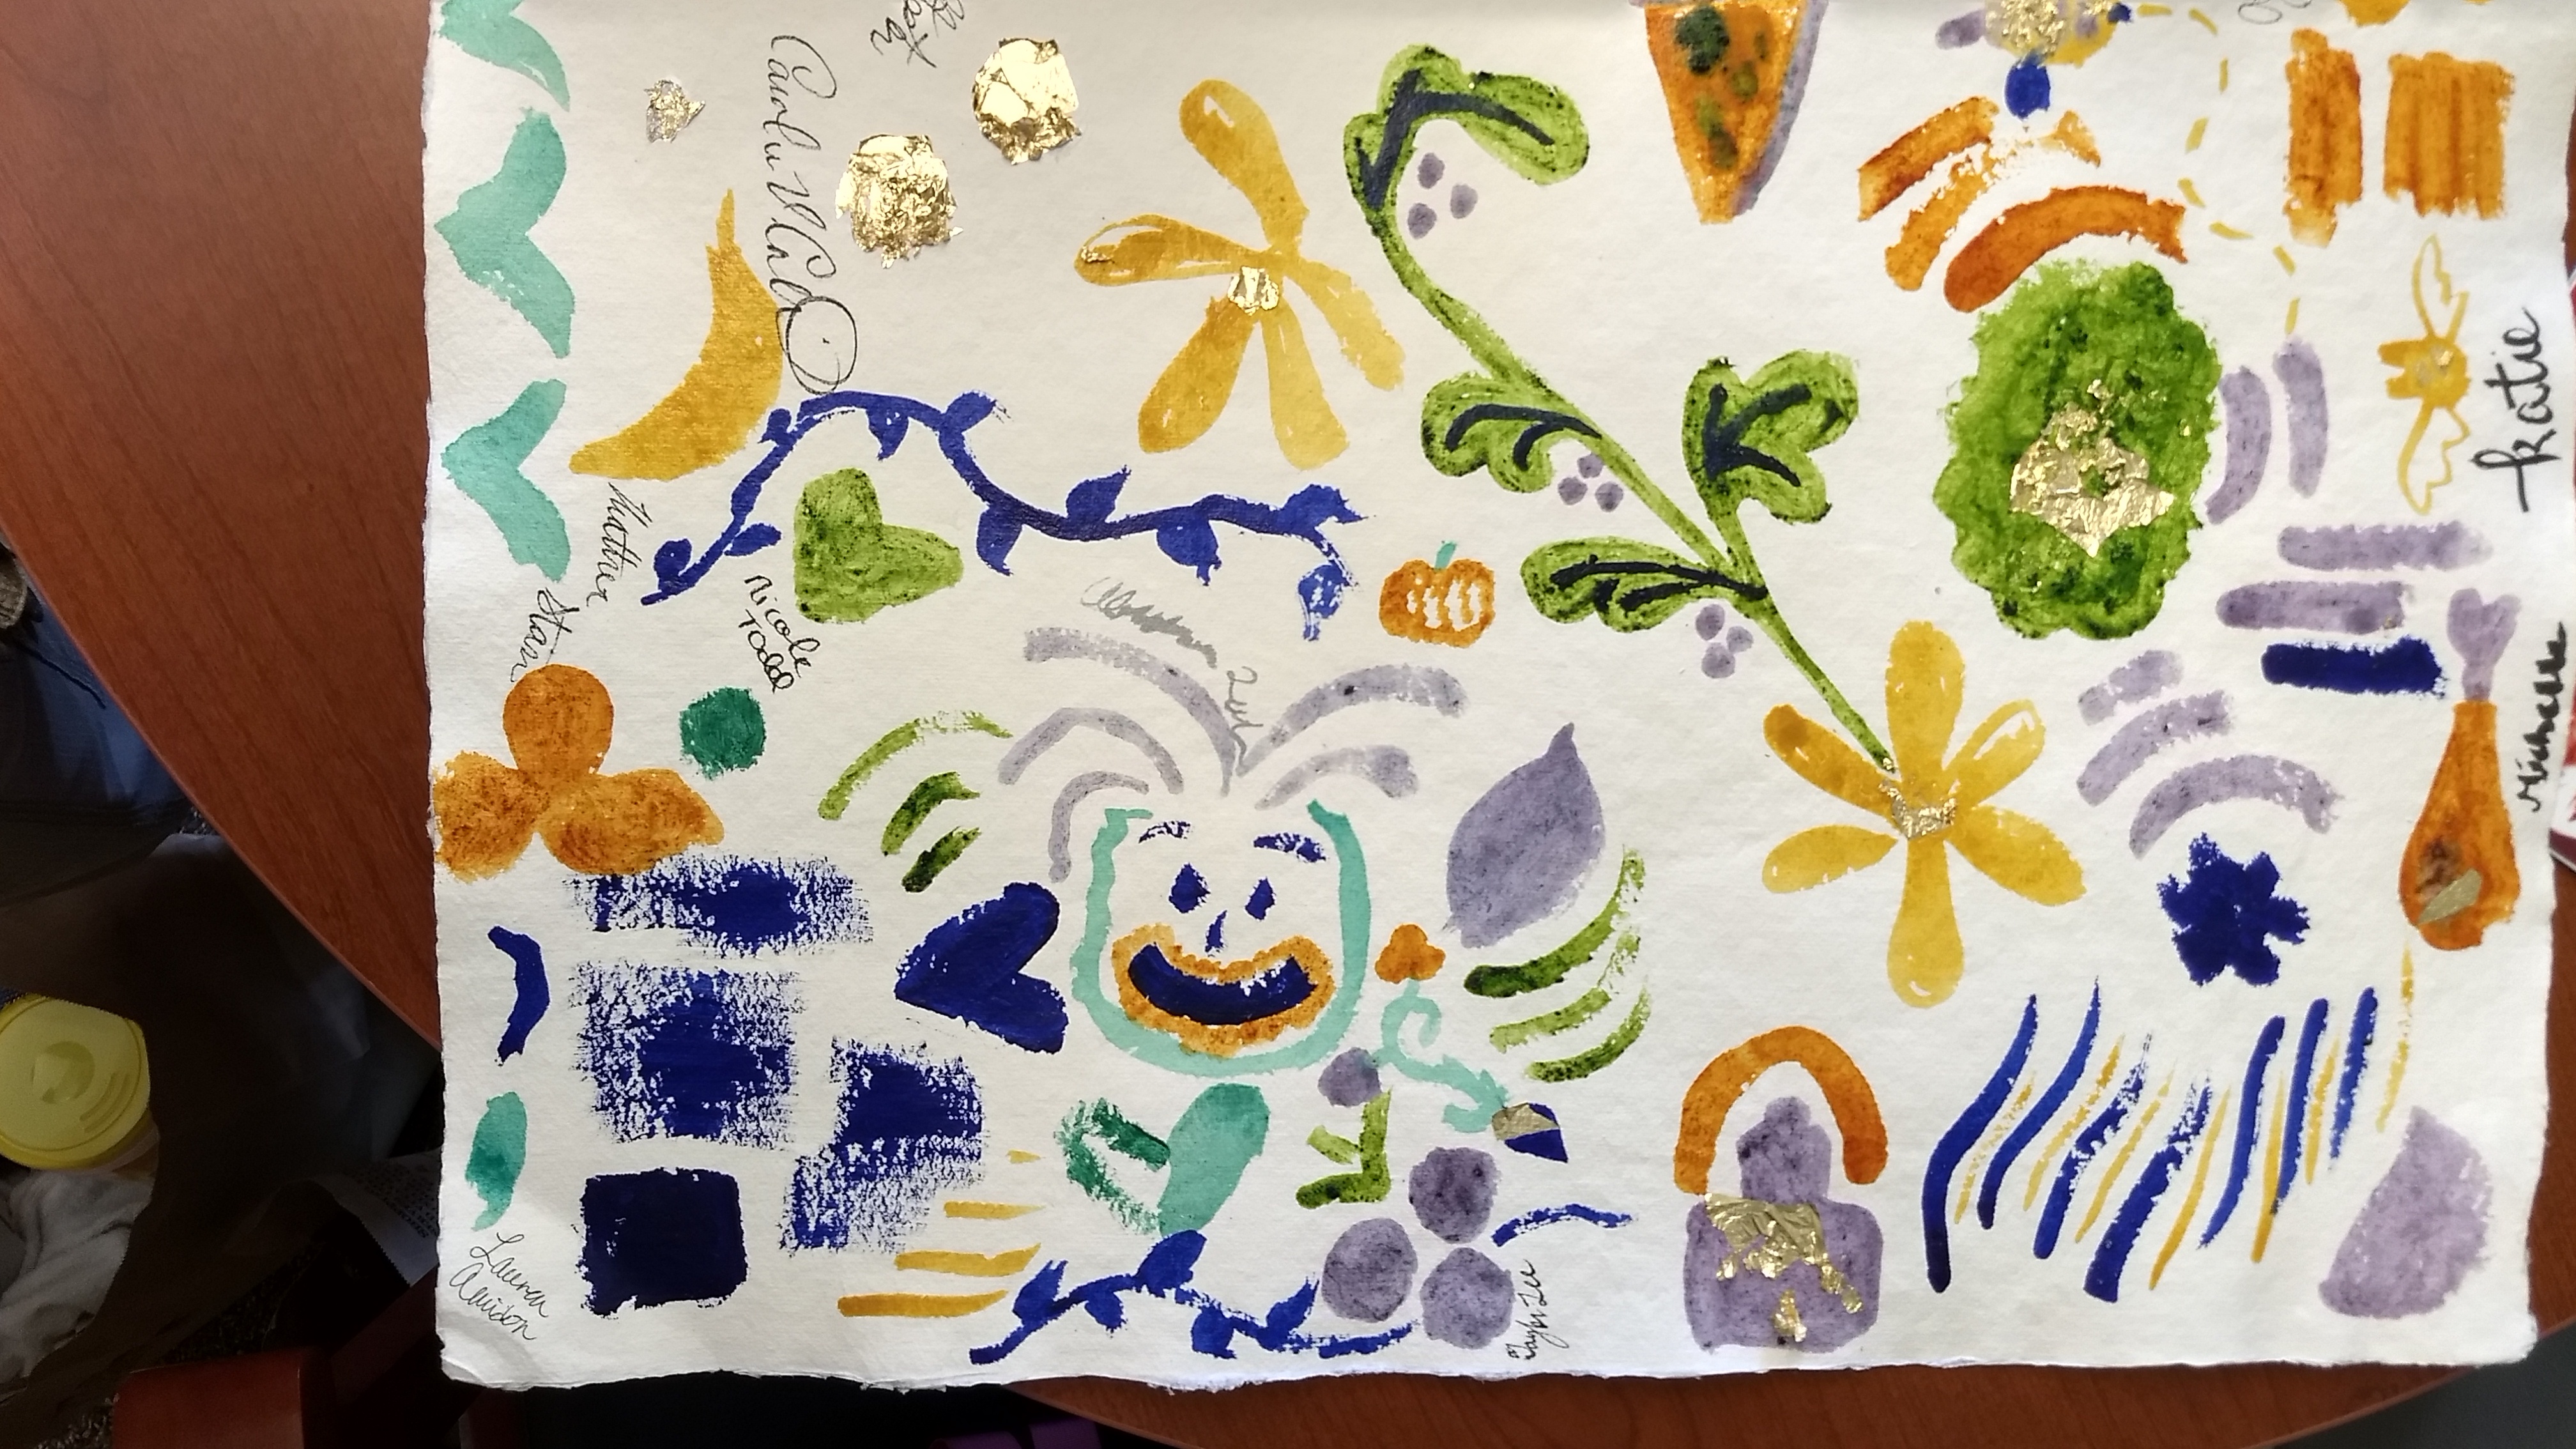
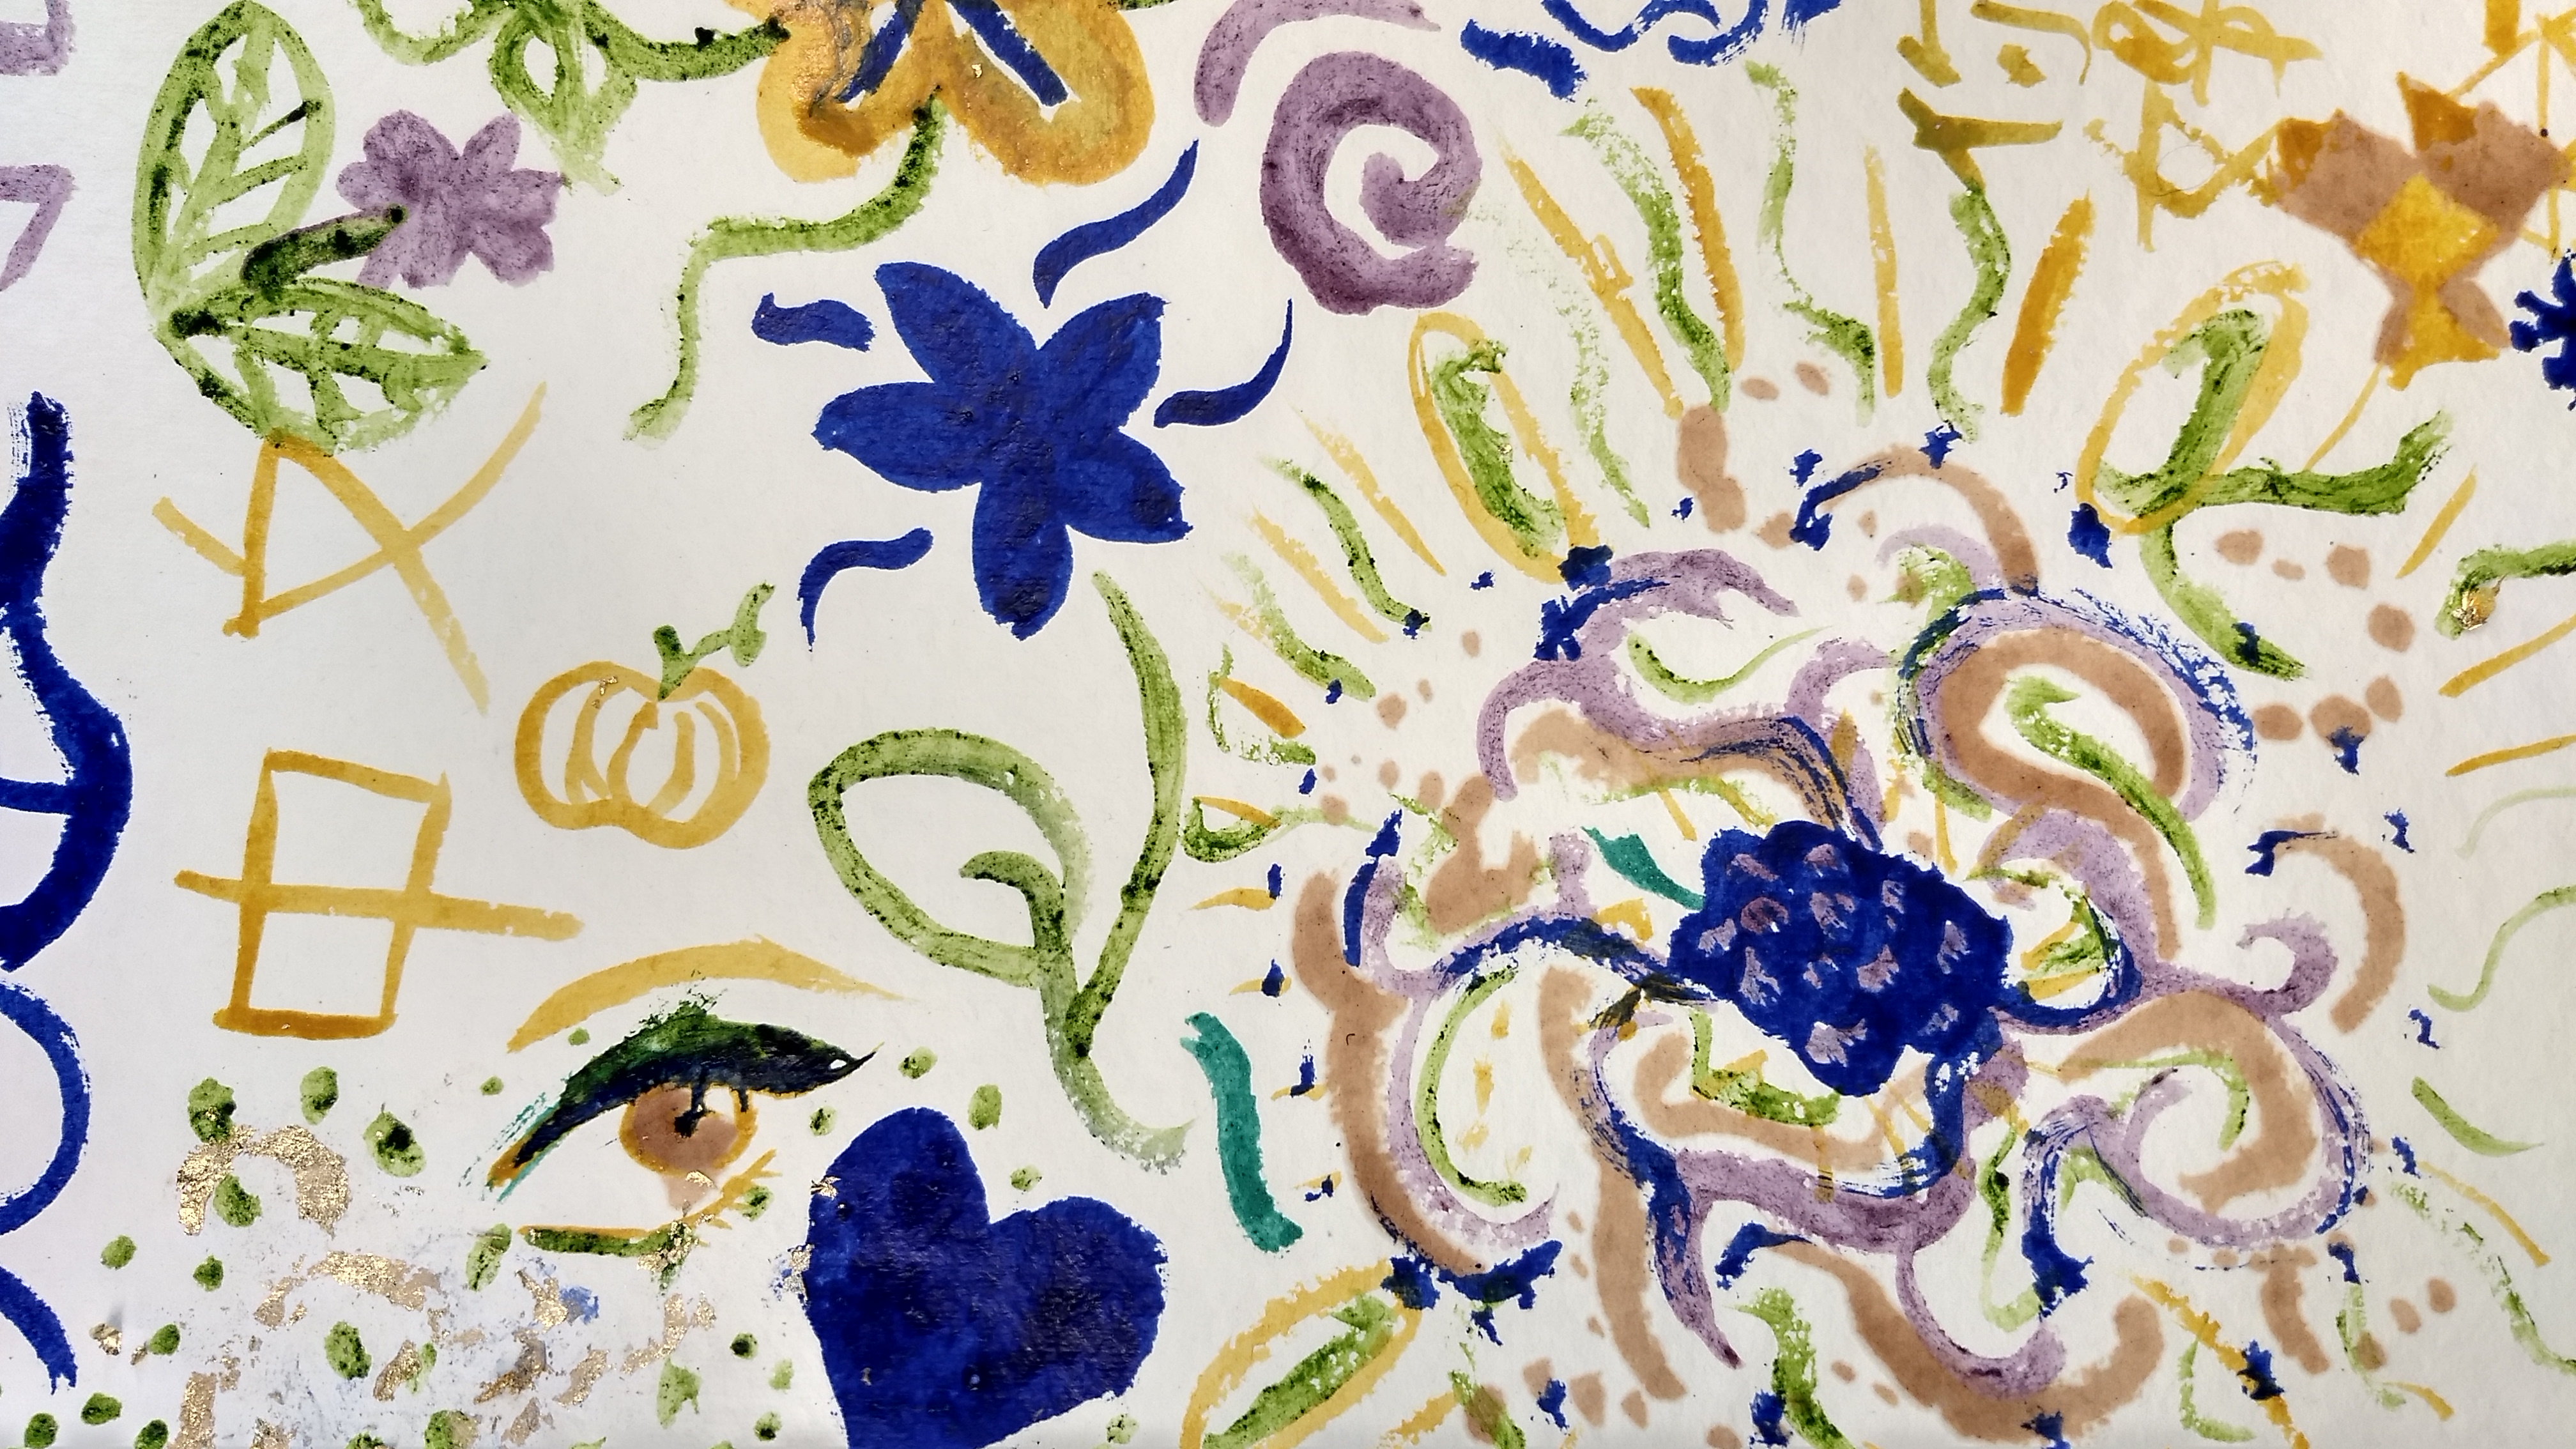
Finally, quite apart from apart from everything, we were amazed and grateful that everyone in both classes was so interested and so willing to listen to us as well as to participate in our paint day. The large sheets of rag paper that everyone collaborated on to decorate look amazing, as you can see – the power of communal creativity is pretty awesome!
This brings us to the end of our work on this project, but we know that Dr. Camp intends for future iterations of this class to continue our efforts, so there will certainly be more to come soon. In the meantime, we’d just like to to say thank you so much for reading!